Remembering How to Use the Sewing Machine
Blog|更新日:2020年4月16日/木曜日
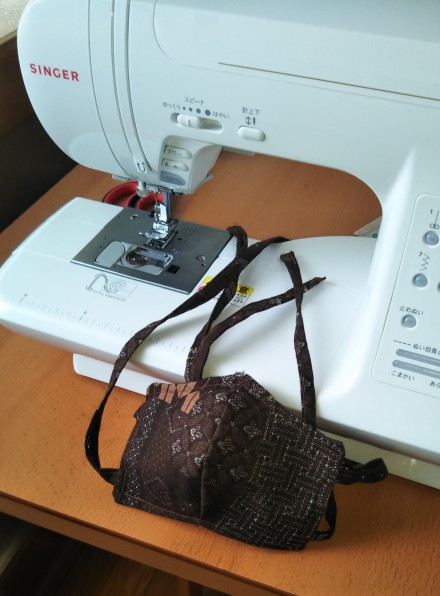
Awhile back, myself and another teacher invested in a sewing machine. We had small projects in mind. In particular, I had plans to make a witch costume for the Halloween party (which I did actually end up doing!) Since the fall, however, it’s largely sat unused, gathering dust. Such a pity. Sewing projects require a lot of time and attention, especially because I’m not especially skilled at sewing, let alone handling a sewing machine, so I’ve largely just been short on the time to invest in a project all these months. Recent events have changed those circumstances, however. A month of cancelled classes and precious little to do– talk about a recipe for insanity. So, I brushed the dust off our machine, cut up the fabric scraps from my witch costume, and set to work making some cloth masks.
There was only one problem: I couldn’t remember how to set up the machine! And I, of course, misplaced the manual, to boot.
So my first “sewing day” largely consisted of me fiddling with the machine, messing around with the needle, the bobbin, the stitch settings, etc. It took two hours of fiddling for me to finally get the machine to start sewing simple straight stitches correctly, but sew simple straight stitches I did! That was an exciting moment. Of course, as soon as I conquered the sewing machine, I was faced with my next greatest nemesis: the iron.
I hate ironing. I avoid it at all costs. My wardrobe is specifically tailored to avoid ironing anything. Not that ironing is complicated. I did bully my dad into teaching me how to use an iron before I moved to Japan, which really paid off, so when I pulled the iron out of my closet, I didn’t have to spend the next two hours fiddling with it. Instead, I had to spend an obscene amount of time constantly ironing one component of one mask for thirty seconds, then returning the iron to its cradle to reheat for two minutes. The woes of a cordless iron… It’s a very long, time-consuming process. Honestly, just ironing all of the mask components took another two hours. But finally! The machine was set up, and all my pieces were cut out, ironed, and pinned. So I settled in to sew it all together.
And, naturally, that’s when the sewing machine stopped working again. It had sewed some test scraps together just fine before! The tension was a smidge off, but nothing too noticeable. I didn’t think it constituted a serious problem after two hours of fiddling just to get the machine to that point. I was wrong, though. It was a serious problem. After yet more fiddling and testing, I did manage to diagnose the problem, thankfully: I’d wound the bobbin incorrectly. So I got to redo that whole process, reinstall the bobbin, re-thread the entire machine, and run through some more test scraps.
Then I made my first mask! Huzzah!
The craftsmanship was top notch. …..For me. I definitely wouldn’t pay money to buy this mask off the shelf. Especially since I patterned it wrong from the start, and it was sized for a baby. Whoops!
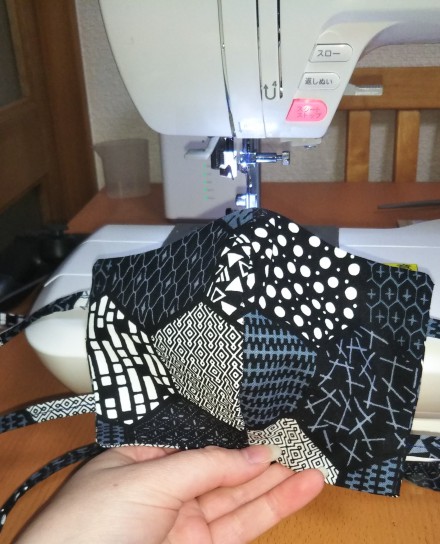
So, yeah, my first mask was a total disaster from start to finish. I ended up cannibalizing some of its components later, though, so at least it wasn’t a total loss. And it was a valuable learning experience. I got many hours of practice ironing, patterning, winding the bobbin, threading the bobbin, threading the machine, back stitching, and seam-ripping. So much seam-ripping. My next mask ended up the correct size, and its construction was a lot more stable. And the masks after that showed even more improvement!
I’d like to think I’m finally getting the hang of this whole mask-making business, but I don’t want to jinx it haha.


